Difference between revisions of "Granity user guide/Uploading a firmware"
From Granite Devices Knowledge Wiki
| [checked revision] | [checked revision] |
| Line 1: | Line 1: | ||
This article will instruct upgrading the device firmware file by using [[Granity]] software. | This article will instruct upgrading the device firmware file by using [[Granity]] software. | ||
| + | |||
| + | Not a single Granite Devices product has been harmed by firmware upgrade attempts. The upgrade process is fault tolerant by design. | ||
==Preparations== | ==Preparations== | ||
#Back-up target device settings to file as firmware upgrade may reset them to factory defaults | #Back-up target device settings to file as firmware upgrade may reset them to factory defaults | ||
Revision as of 22:02, 23 August 2013
This article will instruct upgrading the device firmware file by using Granity software.
Not a single Granite Devices product has been harmed by firmware upgrade attempts. The upgrade process is fault tolerant by design.
Preparations
- Back-up target device settings to file as firmware upgrade may reset them to factory defaults
- Ensure that communication works flawlessly to the device (in normal Granity operations)
- Ensure that you have the firmware files
- Original firmware (available from product site) - this file may be useful to restore device in factory state
- A compatible new firmware file for your device model & version
The procedure to upgrade firmware on the device
Uploading a new firmware to the drive using Granity software may be done by following the steps below.
- Power-off the target device
- Set target device SimpleMotion V2 bus address to 255 which is the device firmware upgrade (DFU) mode address.
- Power-up the target
- Click Connect to drive button in Granity. A list of available devices should pop-up:
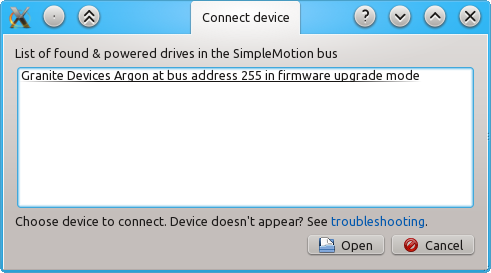
- Choose the one with address 255 and click Open
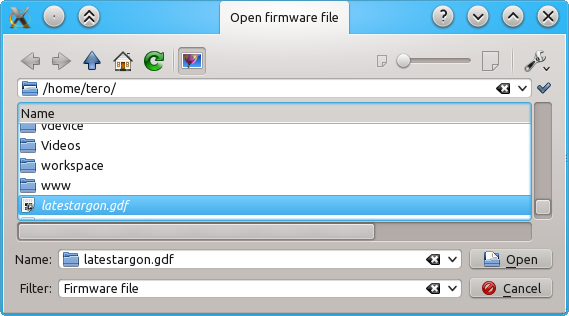
- The firmware upgrade dialog pops up, choose Open file & start upgrade button

- A file selector dialog pops up, choose the firmware file to be uploaded. Make sure it is meant for your device model:
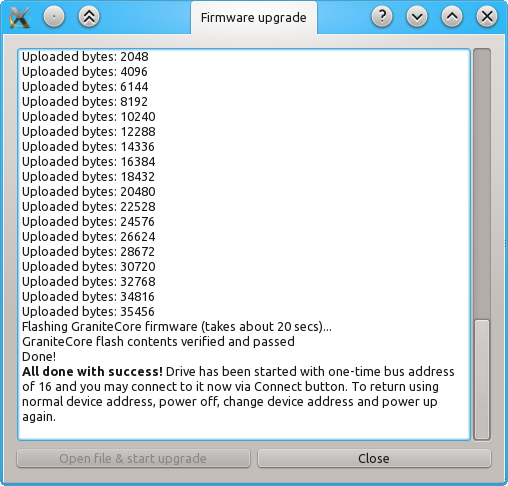
- After clicking Open, the firmware upload starts immediately. After the process has been completed, click Close. You may now restore your normal SMV2 bus address, restart device and connect normally. Alternatively you may connect right away without restart but the device will have a temporary address of 16 before the next power cycle.